I got hit by the nostalgia bug when looking for pictures of past pumpkins I’ve carved. I was trying to look for some of the neat carvings I’d done but ended up looking at videos and pictures of my kids when they were just little—as opposed to the eight and twelve year olds they are now. The memories seem so distant. I’ve been carving unique, or at least what I think is unique, pumpkins for a few years. I’ve done a pumpkin Death Star, a KCCO pumpkin, and more that I can not remember. For this year’s Halloween, I thought I should make my recipe about how to carve a good pumpkin.
Now I realize that this article is going up a few days before Halloween and you’ve probably carved your pumpkin. But next year you can improve. BUT if you’ve waited to the last minute and you’ve never done one, its actually very easy. With a few simple instructions you’ll be able to carve your pumpkin AND enjoy the seeds inside!
 The first step is picking the best pumpkin. You have a few choices. You can make your own by gardening, you can go to a pumpkin patch and pick one or go to your local grocery store. I chose my local grocery store because I know the owners and they are great people, but you can still get great carving pumpkins from most grocery stores, and they are not that expensive! I think we paid $2.50. A great pumpkin shouldn’t have mushy spots, you need it firm to hold the carve. The stem should also be held tight and not move. But warts, discolorations, odd shapes, can all be just fine if you think you can make it fit into your intended carving (bumps and warts can be tough to cut through however, so think about that too.)
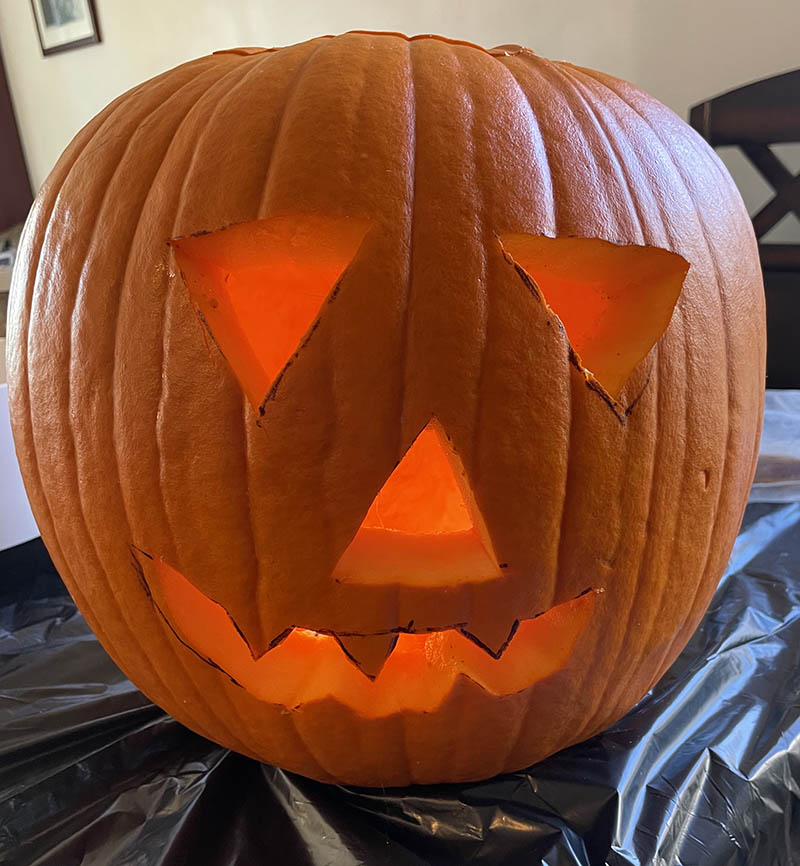
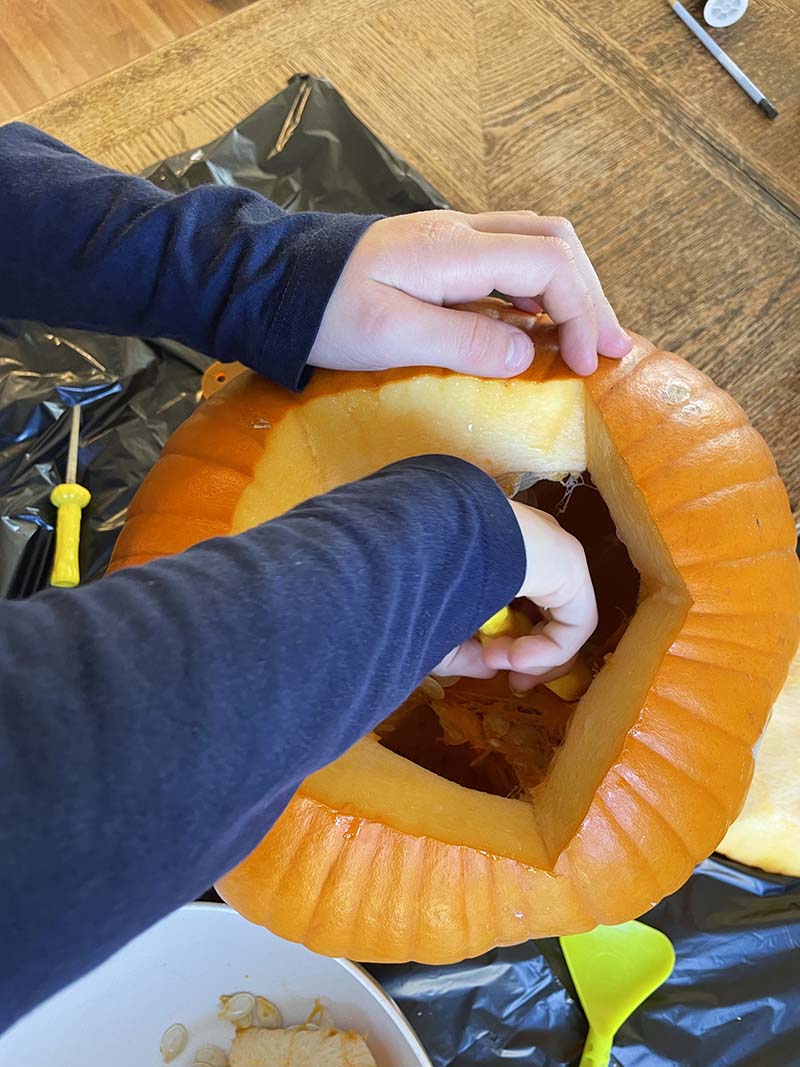 Once you have a great pumpkin, you’ll need to clean it out. I always make sure that I use a diagonal cut for the top. That way you can still fit the top on it, and it will not fall in. Next, if I am just going to carve it, I use a marker or pencil to plan my design. This is where most carvers need to practice. If you are not artistic its ok, just do your best. This year, my daughters decided that this design should a more traditional one. Once you have your plan done, you dig in and clean out your pumpkin.
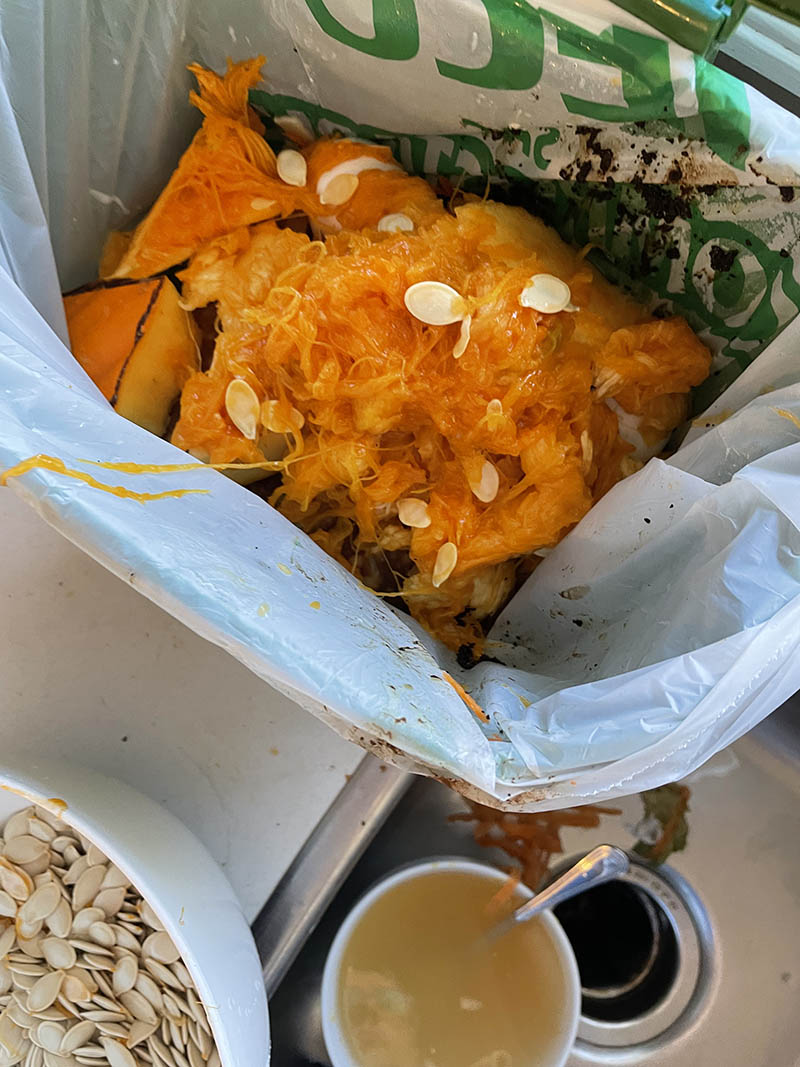 If you want to keep the seeds you can. They taste great once you have roasted and seasoned them. This year I smoked mine and added Big Daddy’s seasoning to them. You could add different flavorings if you like, such as popcorn flavorings or just fine salt. But once your pumpkin is cleaned out you can start cutting out your design. If you want to get into more intricate work, you will need more special tools. But for most things I have found that you could get away with a decent flat head screwdriver, a drill bit, a paring knife, and a metal spoon.
 If you are trying to get just a basic design but your artistic skills need work, then print out the design you want and use a toothpick or pin to outline it on the pumpkin. The trick for carving a simple pumpkin is that when you cut the lid, you angle the knife so the outside cut is bigger than the inside (so that the lid doesn’t fall in) but when you’re cutting the face, you do the opposite. Angle the knife so that the piece is slightly larger on the inside than the outside. Then you push the pieces inside the pumpkin and scoop them out. That way you don’t dim the light by having it go through pumpkin flesh. So, cut out your design and add a candle or LED light; glow sticks also work, but the tradition is candles. If you’re having trouble keeping it lit, cut a small notch in the lid toward the back of the pumpkin. The added airflow is often all that’s needed.
Happy Halloween, and for a unique recipe I’ve added a great one for roasting the seeds.
Roasted Pumpkin Seeds
Ingredients
1 tablespoon Big Daddy’s seasoning
1 tablespoon oil
1 carving pumpkin’s worth of seeds
Directions:
- Clean the pumpkin out but reserve the seeds.
- Pick out the pumpkin gut and separate the seeds.
- Soak the seeds for 15 minutes to 3 hours in cold water.
- Skim them out and strain them.
- Set your oven to 350F.
- Add the oil to the seeds and season them.
- Put the seeds on a parchment lined baking sheet and put them in the oven for 20 minutes.
- Stir them halfway. You are going to roast them until they start to brown.
- Once they are brown and dry you can let them cool, and add any more seasoning you think they need.
- Enjoy!